
Erstellen Sie ansprechende Shorts in wenigen Minuten
Jetzt beitreten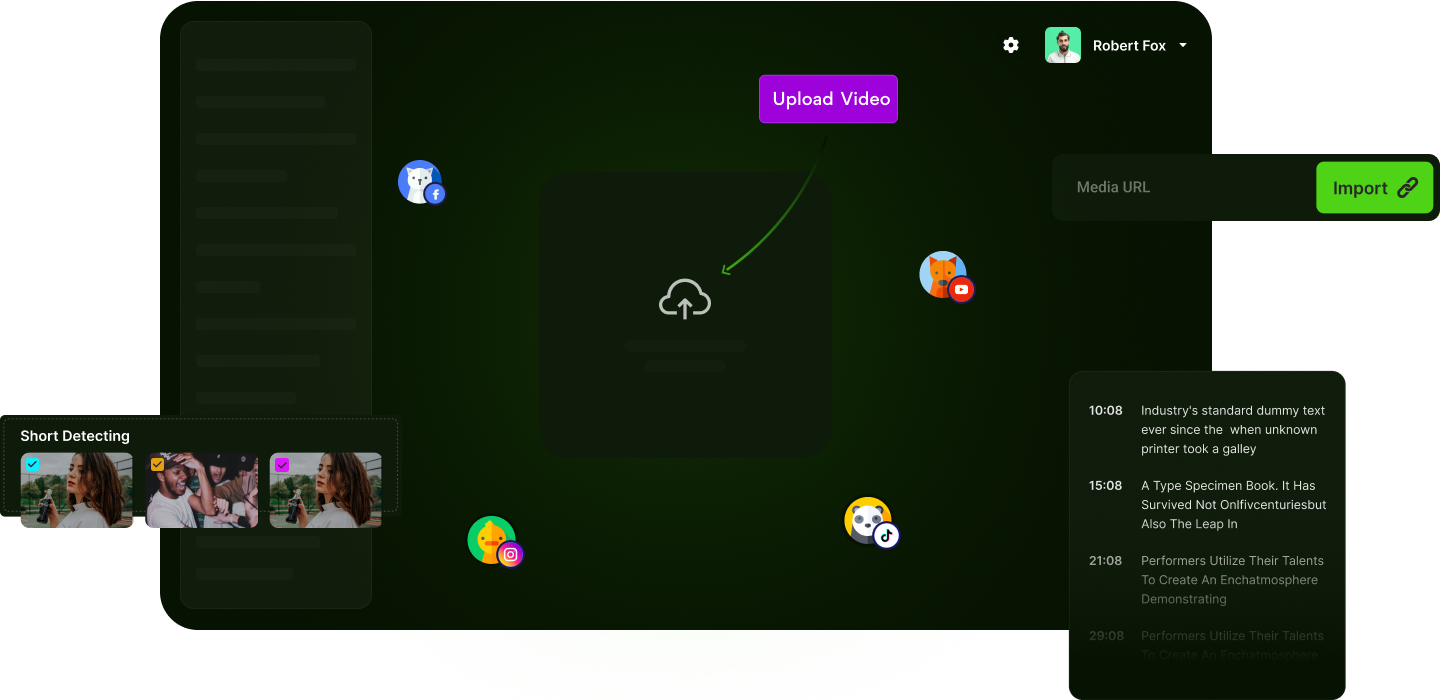


Ihr Leben als Content Creator ist einfacher als je zuvor
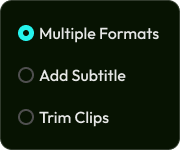
Mehrere Formate
mp4, mkv, mov, webm, laden Sie jedes Videoformat hoch, das Sie haben. Bearbeiten Sie Ihre Clips einfach und laden Sie sie sofort herunter.
Untertitel hinzufügen
Fügen Sie Untertitel hinzu, um das Engagement zu verbessern. Wählen Sie die richtige Schriftart, Größe, Position und Farbe der Untertitel für jede Sequenz des Clips.
Trim Clips
Beschneiden Sie Ihre bevorzugten Teile präzise aus dem Inhalt, ohne die Qualität zu beeinträchtigen. Siehe Sofortvorschau für präzises Trimmen.


Vom Upload bis zum Viral in einem Dashboard
Video Importieren
Laden Sie Videos hoch, die Sie auslösen möchten, und laden Sie sie hoch
01
Trimmen & Vorschau
Bildbereich erstellen, um die Kurz- und Vorschau zu schneiden
02
Clip herunterladen
Klicken Sie auf den Download-Button und laden Sie sofort Ihren neuen Kurzfilm herunter
04
Untertitel hinzufügen
Wählen Sie den Clip aus der Liste aus und fügen Sie Ihre benutzerdefinierten Untertitel hinzu
03
Klüger Erstellen, Schneller Wachsen
Optimiert für Kurzform-Ersteller
Jede Funktion wurde entwickelt, um die Erstellung kurzer Videos für Plattformen wie TikTok, Reels und Shorts zu optimieren
Gesichert durch Design
Die Zwei-Faktor-Authentifizierung schützt Ihre Inhalte und Ihr Konto jederzeit
Genaue Untertitel-Synchronisierung
Untertitel manuell mit der Sprache ausrichten, um ein sanftes, natürliches Tempo zu gewährleisten
Anpassbare Untertitel
Passen Sie Schriftart, Größe, Farbe, Position und Stil an Ihre Marke oder Ihren Inhaltsstil an
Präzises Trimmen
Schneiden Sie genau das, was Sie brauchen, mit Genauigkeit auf Bildebene und reibungslosen Zeitleistensteuerungen
Unterstützt Jedes Videoformat
Laden Sie Videos in einem gängigen Format ohne Kompatibilitätsprobleme hoch
All-in-One Dashboard
Behandeln Sie alles an einem Ort, ohne die Werkzeuge zu wechseln
Rahmen-perfekte Bearbeitung
Schneiden Sie mit punktgenauer Genauigkeit mit einer reaktionsschnellen, intuitiven Zeitleiste
20 m
40 m
3 m
5 m
Flexible Preisgestaltung für Ihr Unternehmen

Silber
Test
€5.00/Monat
- Speicherlimit: 500 MB
- Videoschnitte: 5 pro Monat
- Video Untertitel: 5 pro Monat
- Automatisches Video-Upload mit Terminplanung
- Beiträge: 5 pro Clip
- Unterstützte Plattformen : Facebook Instagram Youtube TikTok
Häufig Gestellte Fragen
Hören Sie, was Schöpfer über uns sagen

Als Freiberufler muss ich sicherstellen, dass meine Inhalte und Konten sicher sind. Die 2FA- und Cloud-Sicherheit der Plattform gibt mir Sicherheit, wenn ich mit sensiblen Videos arbeite
Jacob B
Video Editor

Diese Plattform hilft mir, meine Webinare in mundgerechte, teilbare Clips zu verwandeln. Es ist für Kurzinhalte optimiert, und genau das brauche ich
Tim W
Marketing-Berater

Ich liebe es, wie ich Untertitel-Schriftarten und -Farben an meine Marke anpassen kann. Das Timing ist auch super genau. Keine Synchronisierungsprobleme mehr!
Florian B
YouTube-Pädagoge

Früher habe ich Stunden damit verbracht, kurze Clips für soziale Medien zu bearbeiten. Jetzt lade ich einfach das Video hoch und lasse die KI ihr Ding machen. Es ist genau, schnell und spart mir so viel Zeit
Jessica B
Ersteller von Inhalten
Neueste Artikel und Ressourcen für intelligente Entwickler

18
Aug
Ihr Miniaturansichtsstil ist die visuelle Signatur Ihre...
Good lighting can transform your videos from amateur to professional. This blog covers easy-to-follo...
Read more
17
Aug
A catchy title is the first step to a successful video.
TikTok’s unique algorithm rewards creativity and engagement. Learn how to craft videos that have the...
Read more
16
Aug
Learn from your wins to keep creating content your audi...
Consistency is key to growing your audience. This blog explores tools and techniques to plan, schedu...
Read more